James Sorochan
Senior Member
- Joined
- Aug 1, 2020
- Messages
- 521
- Location
- Lethbridge county, Alberta, Canada
- Occupation
- x-water & sewer construction Now farmer.
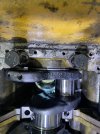
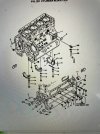
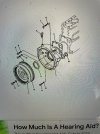
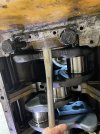
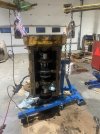
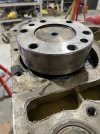
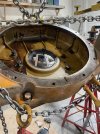
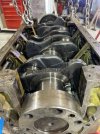
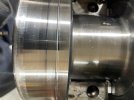
I could use a hand here if you please. Not sure how to remove part #11 (end cap). All the other ones came off easy. I pried against crank lobe with bar but it doesn’t budge. Don’t want to wreck anything. Thanks