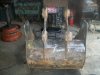
I've used a regular cool box before now to freeze pins with liquid nitrogen, but nothing beats a purpose-built box with 3-4" thickness of expanding foam in between the inner & outer box (the outer can be made from timber if you want). After you've had a bit of practice you'll probably have an idea of how big a box you need for all sorts of "normal" stuff. If you get caught out by something bigger than will fit in your box you may have to build a bigger one.
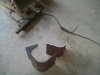
The bush or pin only just needs to fit into the box, that reduces the quantity of liquid nitrogen required. Pins & bushes are best laid horizontal, they are easier to pick out that way. If the pin has a threaded hole in the end of it fit an eyebolt & a sling to it before freezing, with a bush thread a nylon sling through it before freezing. You can always take the slings off after lifting the bush out of the box and before installing it. I agree with Ray, you still need VERY GOOD gloves but having a sling to make it easier get hold of whatever you're freezing helps enormously.
We did a D9 equalizer bar overhaul last week by freezing the centre pin and it literally falls into place - no cylinders required to push it in. From taking the pin out of the box where it was frozen to it being installed in the support takes no more than about 60 seconds.
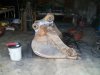
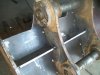
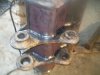
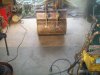
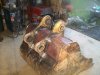
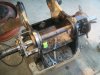
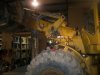
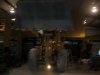
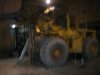
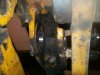
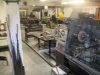
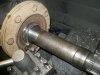
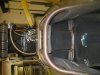
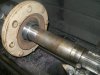
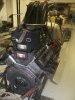
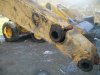
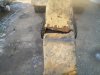
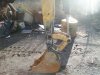
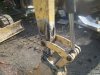
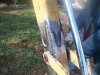
This photo is a 994F lower articulation hitch pin that weighs around 400 pounds. We froze this for 10 minutes in liquid nitrogen and it fell in under its own weight. In the back you can see the eyebolt that was fitted to the pin to lift it into position between the upper & lower hitches, then lower it into place. To get this pin in place took maybe 5 minutes. The other photo shows how we used 3 x 10-ton cylinders to align the hitch before fitting the pin.
View attachment 84282View attachment 84283

")